Pre-Installation Checklist
Before starting, ensure the opening is square, level, and plumb. The structural framing must be complete and secure, and the finished floor level confirmed. Check that the door size matches the approved shop drawings. Confirm all components are on-site including the door frame, door panel, hinges or pivot system, lock and smart lock system, and all required fixings and packers.
Installer Requirement
Installation must be carried out by a qualified carpenter, builder, or professional installer with experience in door systems. Ensure the installer is competent in setting frames plumb and level, handling heavy door panels, and correctly installing smart lock systems.
Frame Installation
Step 1: Position Frame Place the frame into the opening and allow a 5–10mm clearance
around the perimeter for adjustment.
Step 2: Level and Plumb Pack under the frame until it is perfectly level. Check both
sides are plumb and confirm the head is straight with no bow.
Step 3: Fix Frame Fix through the jambs into the structure, starting with the top hinge
point and then the bottom hinge point. Re-check alignment before fully tightening. Do
not over-tighten as this can twist the frame.
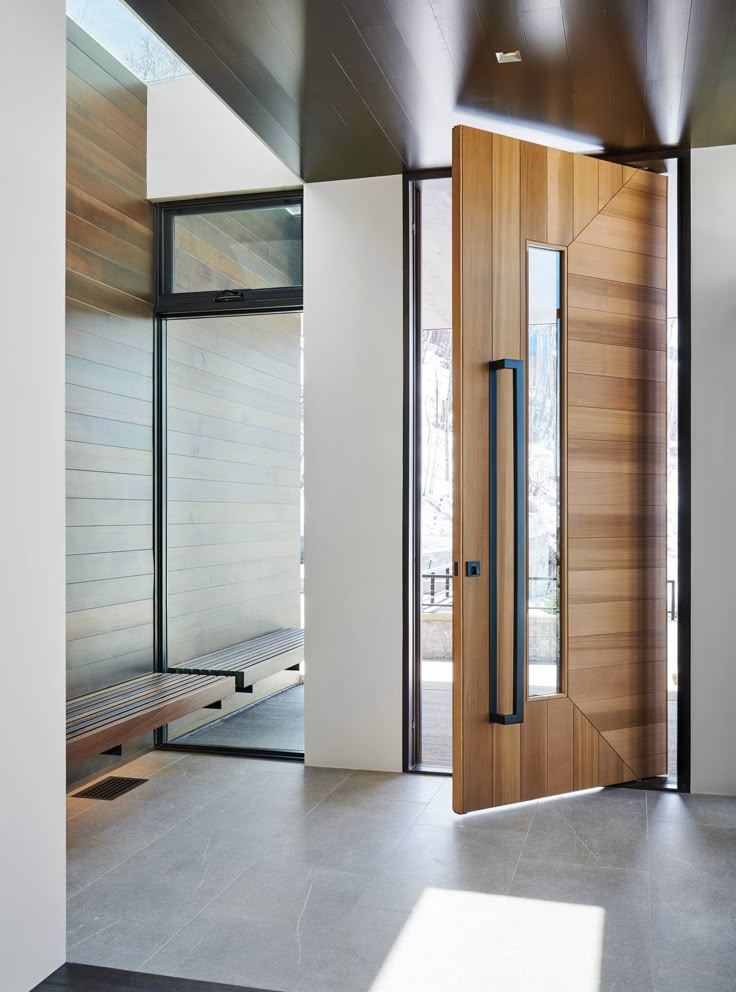
Door Installation
For hinged doors, install the hinges to the frame first, then lift the door onto the hinges and insert the hinge pins. Check that the swing is smooth. For pivot doors, install the top and bottom pivot hardware, set the bottom pivot into the floor plate, then align and drop the door into the top pivot. Adjust pivot tension as required.
Alignment and Adjustment
Check that there are even gaps around the door, typically 3–5mm. Ensure the door sits flush with the frame and operates with a smooth opening and closing motion without rubbing or binding. Adjust using packers behind hinges or pivot adjustment screws as required.
Lock and Smart System Installation
Install the mortise lock into the door cavity and fit the handles and escutcheons. Install the AI Smart Lock with Face ID, keypad, and app functionality. Connect power whether battery or wired and test lock and unlock functions, face recognition, and manual override.
Sealing and Finishing
Apply neutral cure silicone around the full perimeter, with black silicone recommended for a clean finish. Ensure a
Final Checks
Before handover, ensure the door operates smoothly, locks function correctly, the frame is secure, the silicone finish is clean, and there are no visible gaps or movement.
Maintenance Recommendations
Clean stainless steel regularly, lubricate hinges or pivots every six months, check smart lock battery levels, and inspect seals annually.
Important Notes
Installation must be completed by a qualified installer. Do not modify the frame or door structure. Incorrect installation will void warranty.

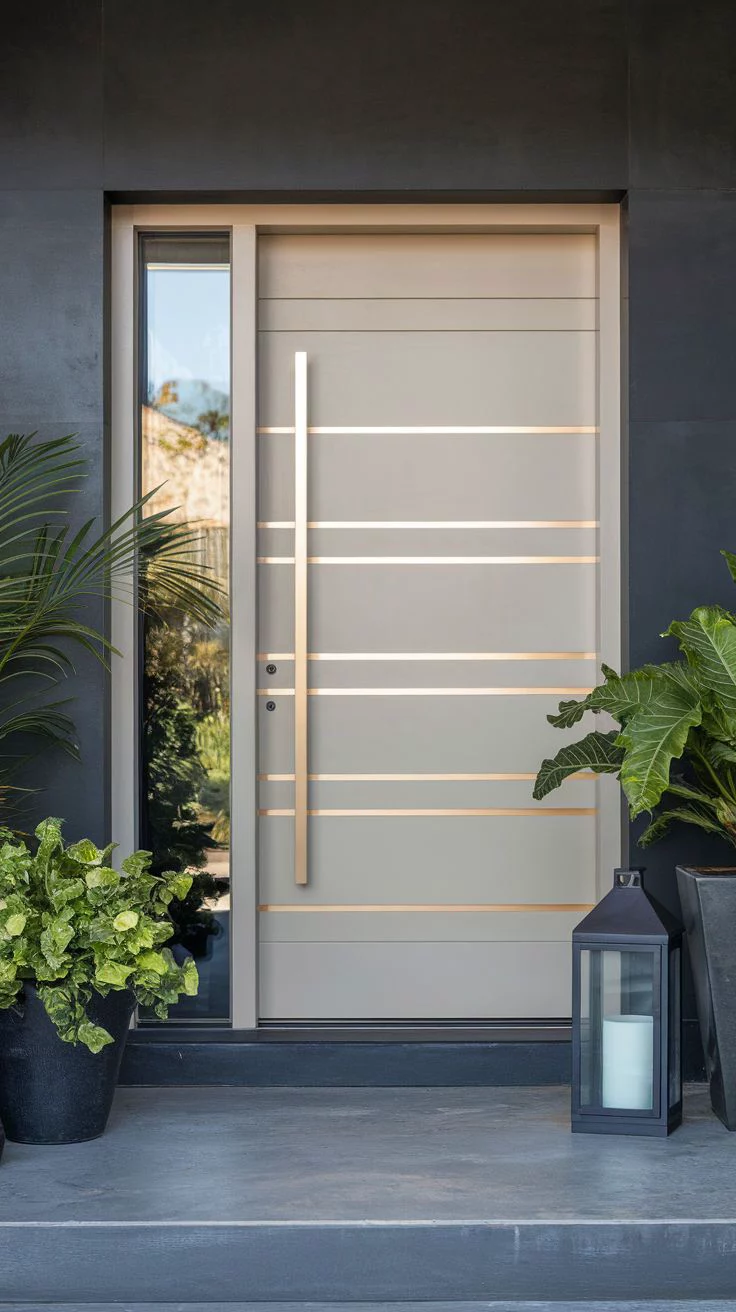
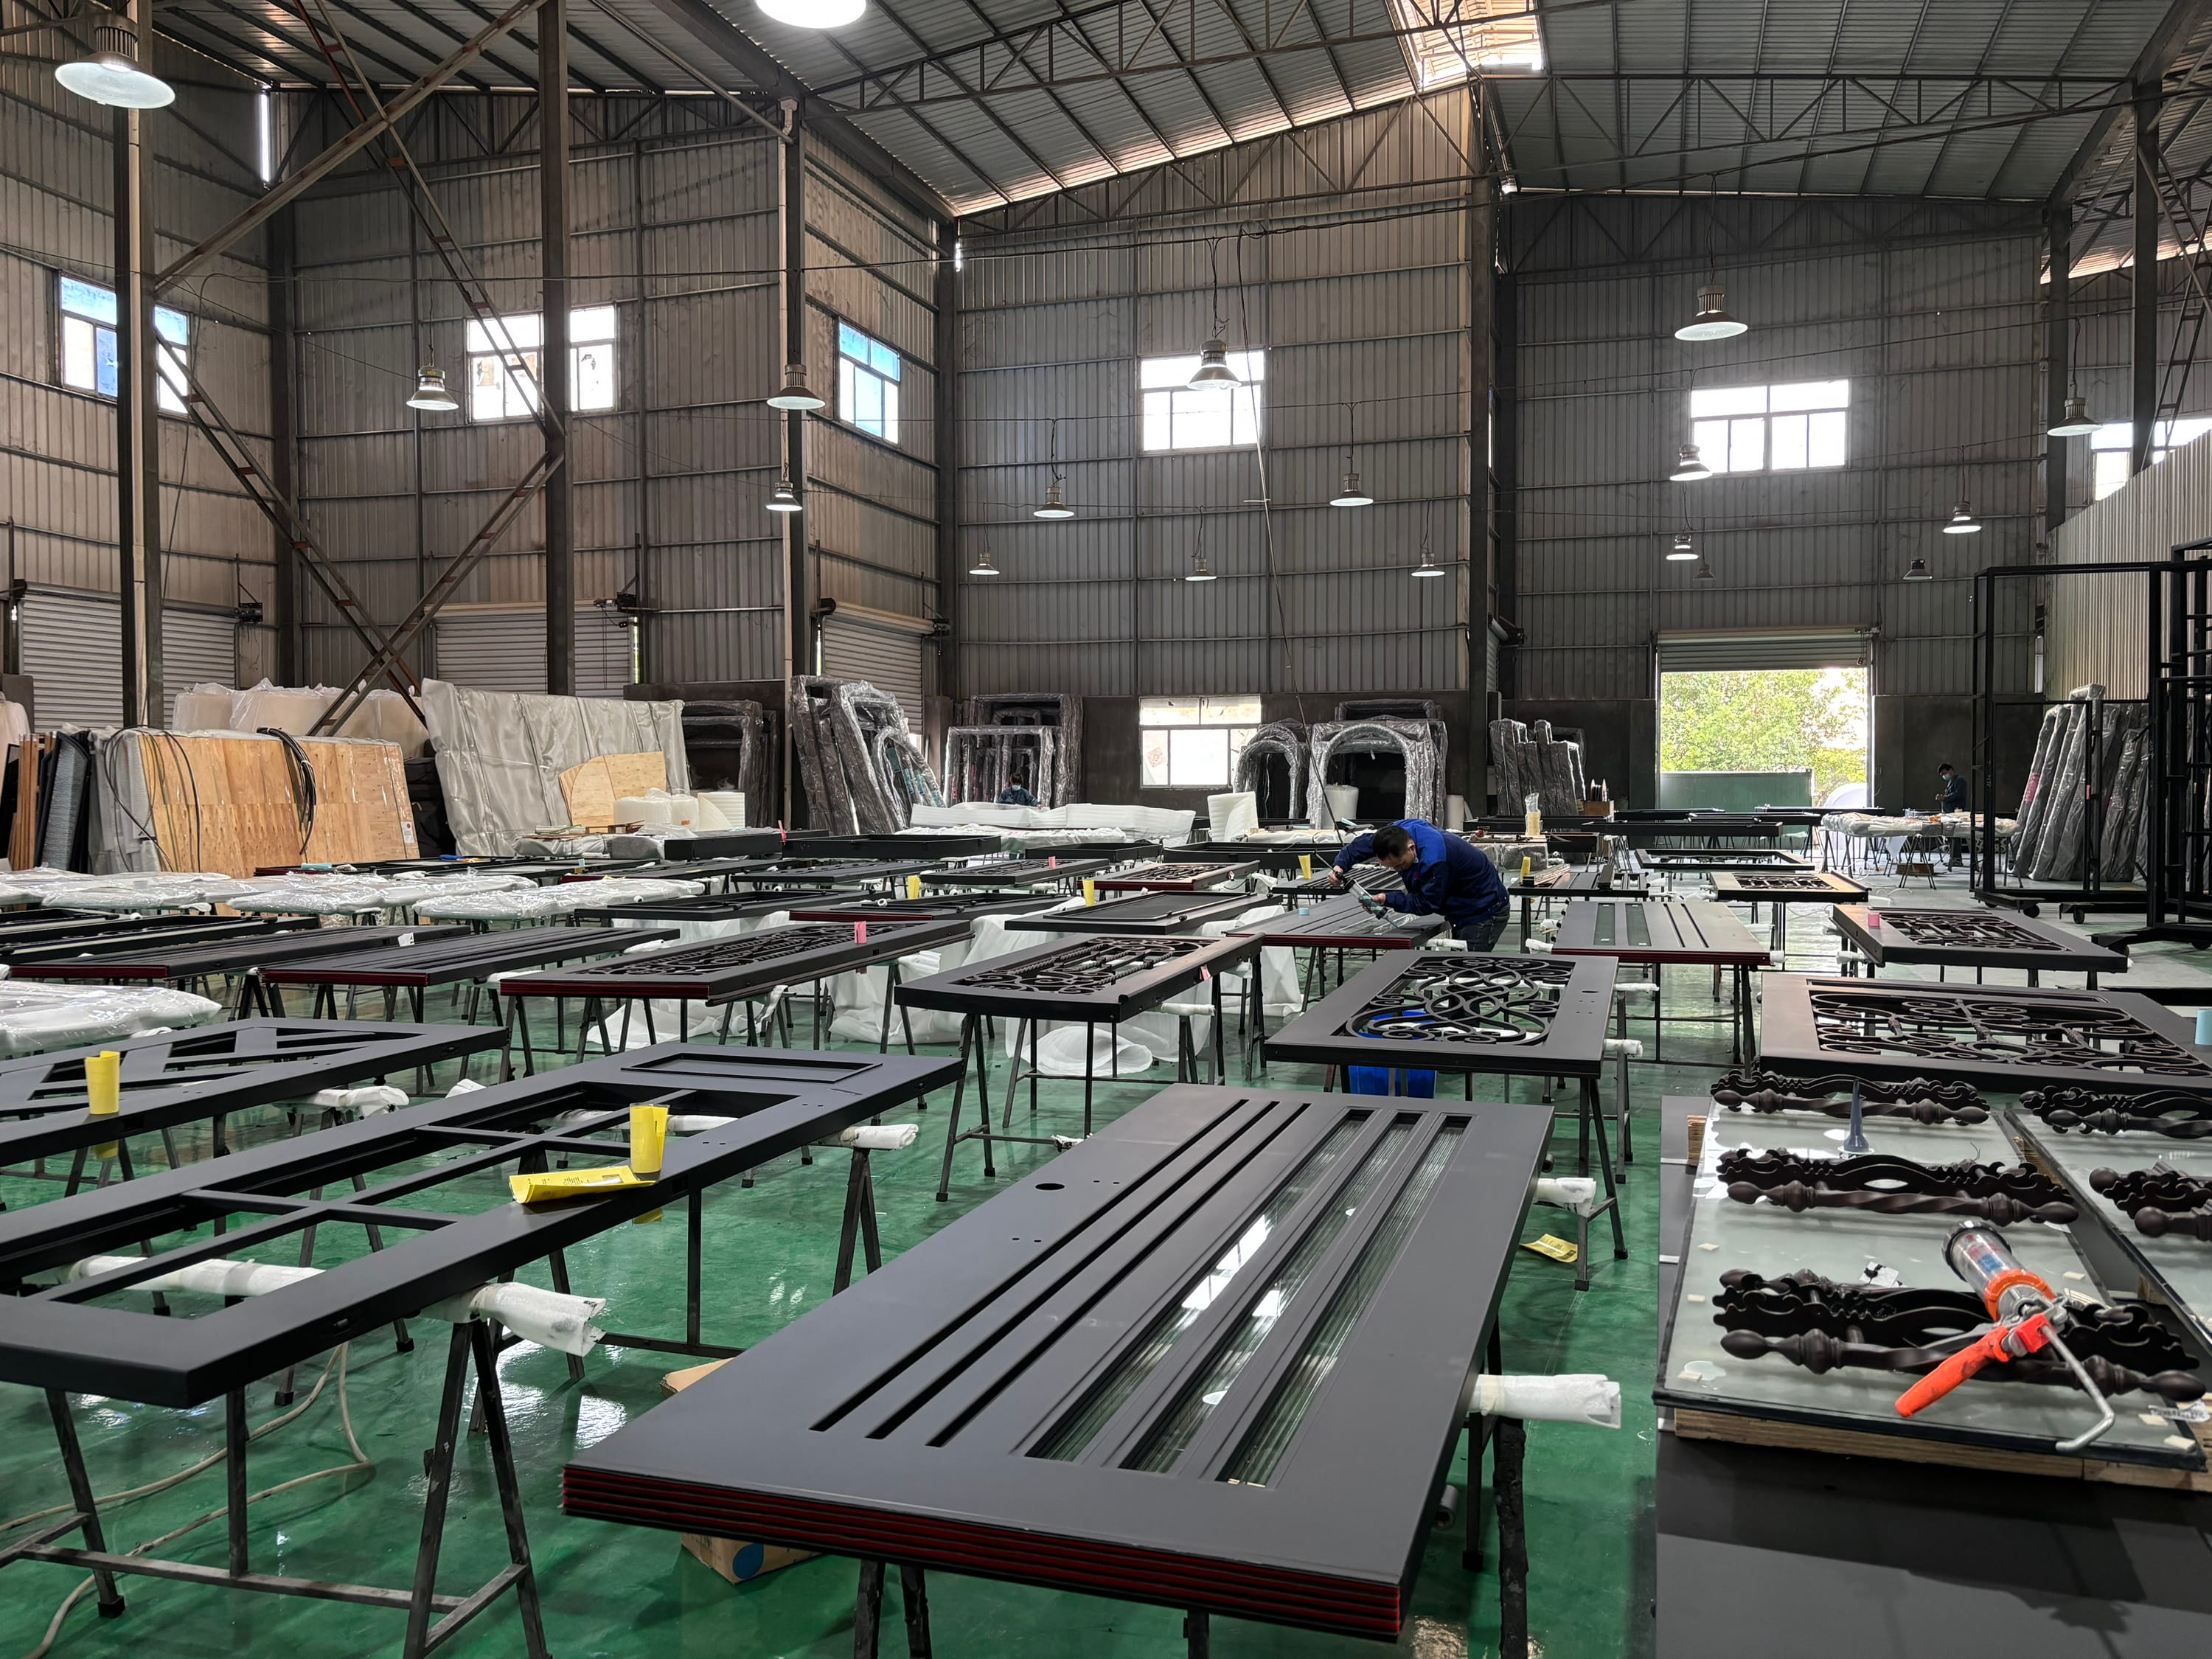
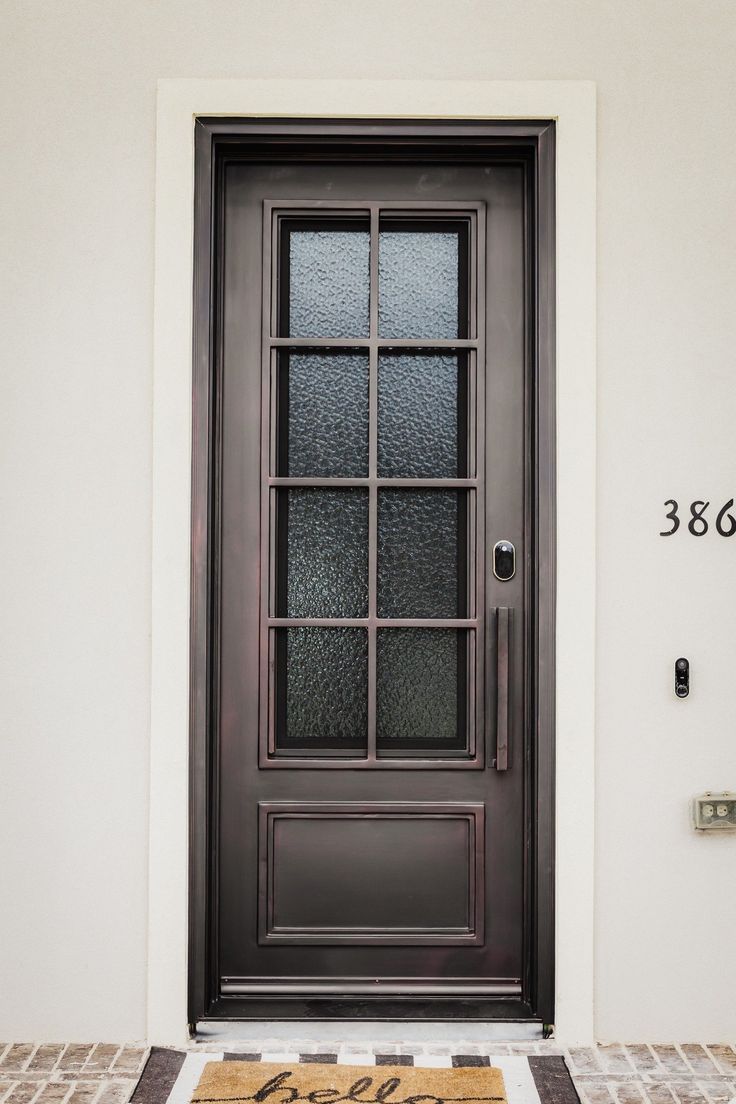
Main Aluminium Door
Strong and visually refined exterior layer designed for durability and modern appeal.

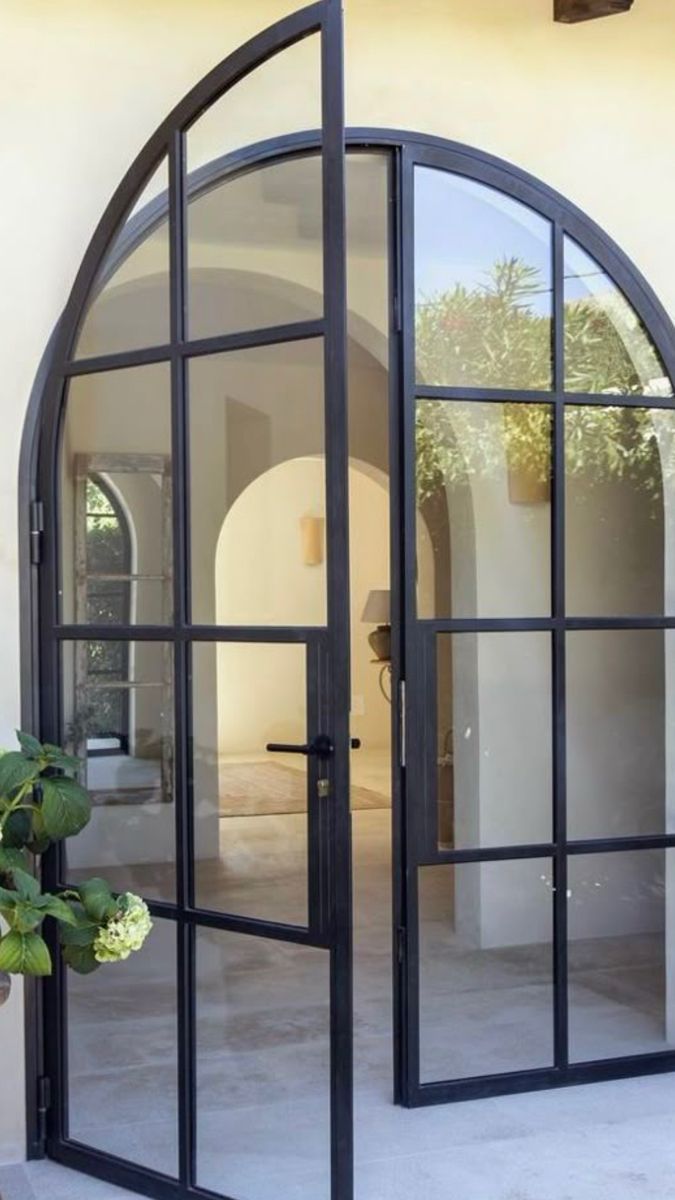
Hinged Internal Flyscreen
Allows fresh air to flow through while keeping insects out, seamlessly built into the system.

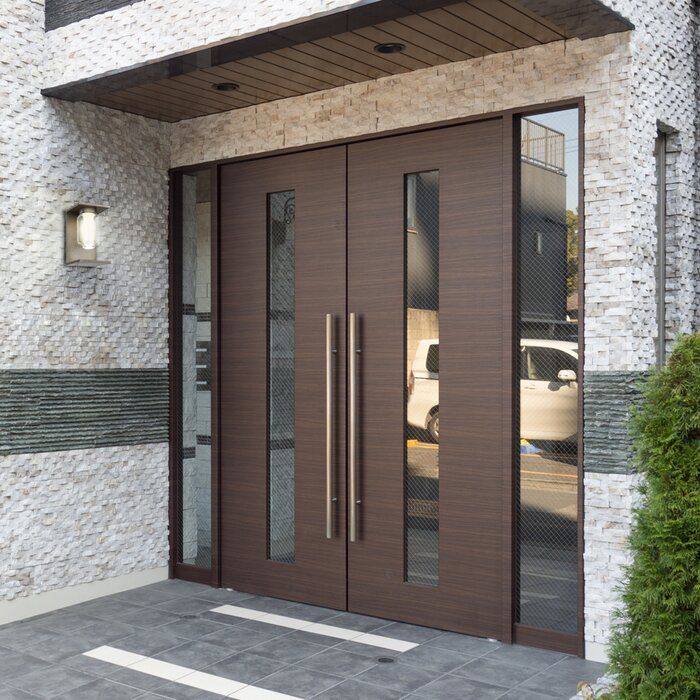
316 Stainless Steel Mesh
Provides high-level security without blocking visibility or ventilation.